|
|
|
|
|
|
To configure WHMCS, login as an Administrator. |
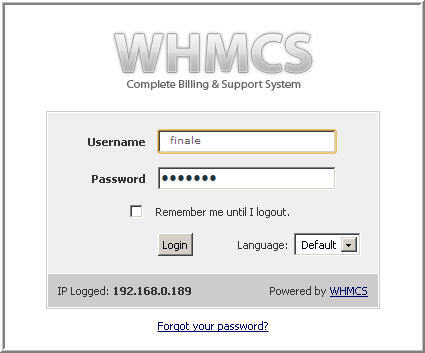
Login to WHMCS.
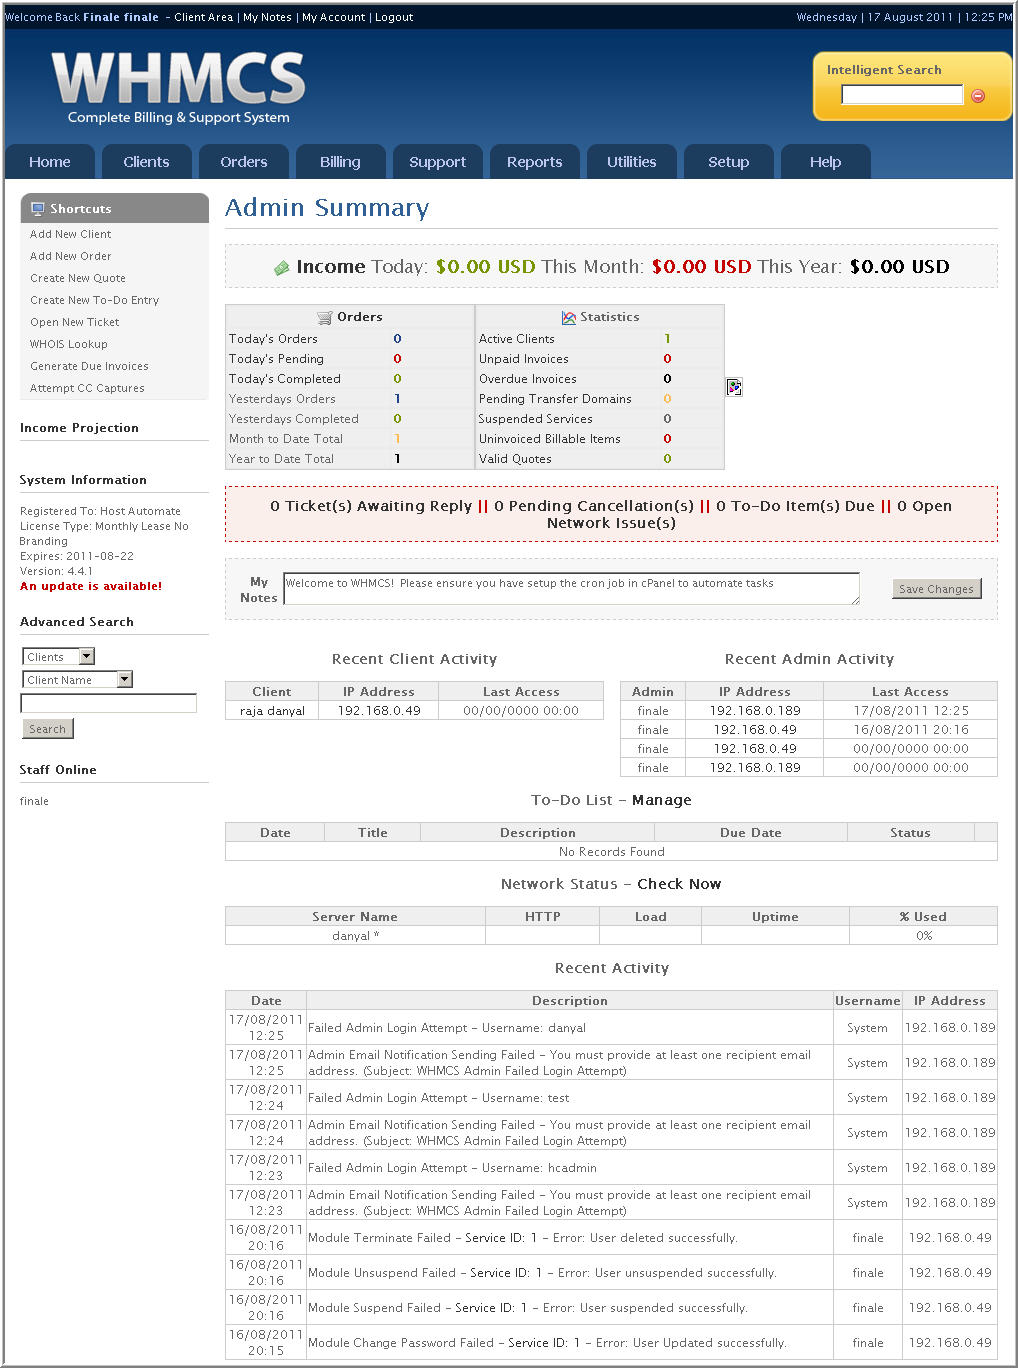
After successful login, following screen is displayed:
Steps to Follow:
To configure WHMCS, follow the steps as stated below:
Go to “Setup >> Custom Client Fields”.
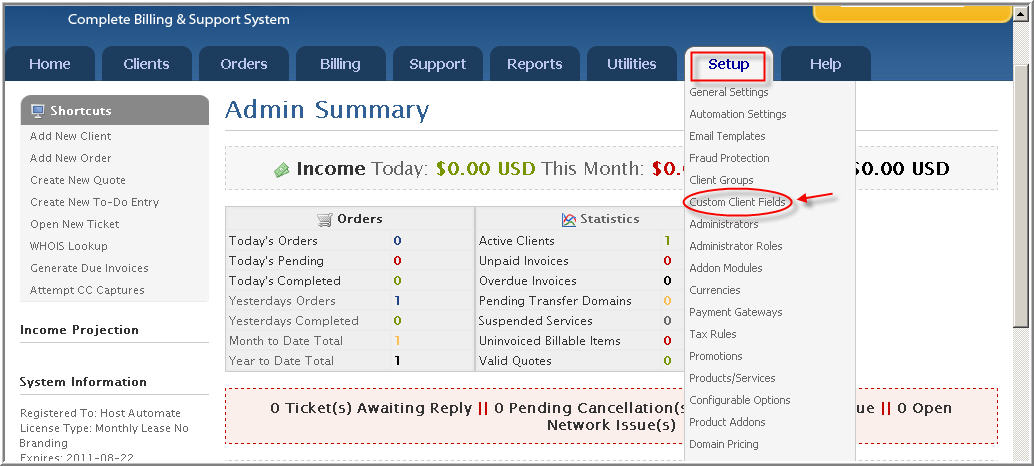
It opens the following screen:
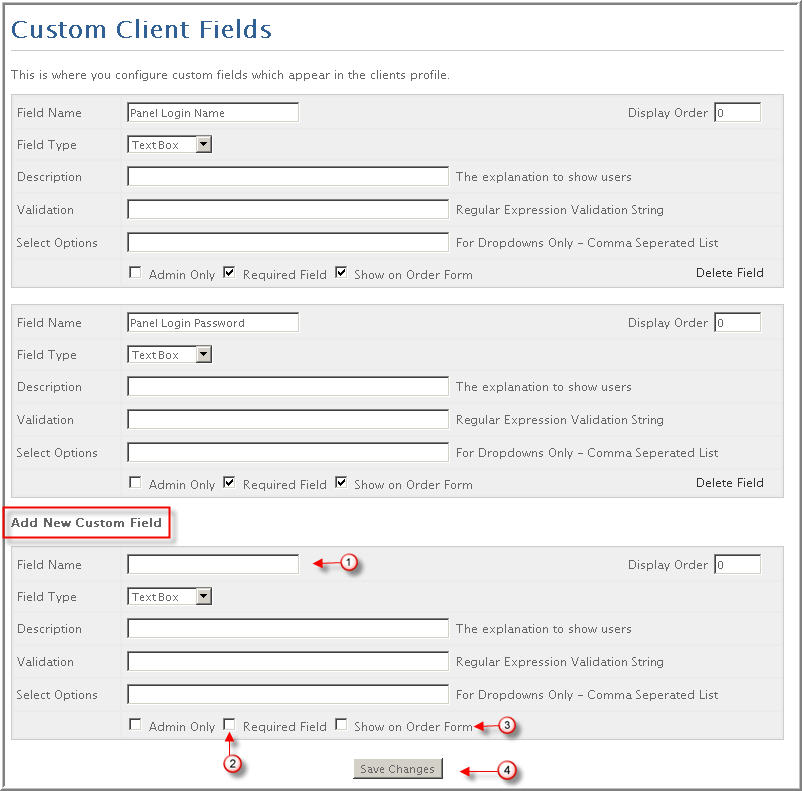
Specify information as required and select “Save Changes”.
|
|
Few things that must be specified as stated:
‘Field Name’ should be “Panel Login Name”. ‘Required Field’ checkbox should be enabled. ‘Show on Order Form’ checkbox should be enabled. |
Prior to add server(s), you should know the followings:
You can add any HCnix web server(s) in WHMCS.
|
|
Make sure, the information you specify for adding HC web server(s) in WHMCS is exactly same as specified in HC panel (for the server you are going to add). |
In “Server Details”, select “Type” as HCnix.
Specify your HCnix login name and password.
|
|
All your WHMCS accounts are added under the specified HC owner on this server in HC.. |
Prior to add product(s), you should know the followings:
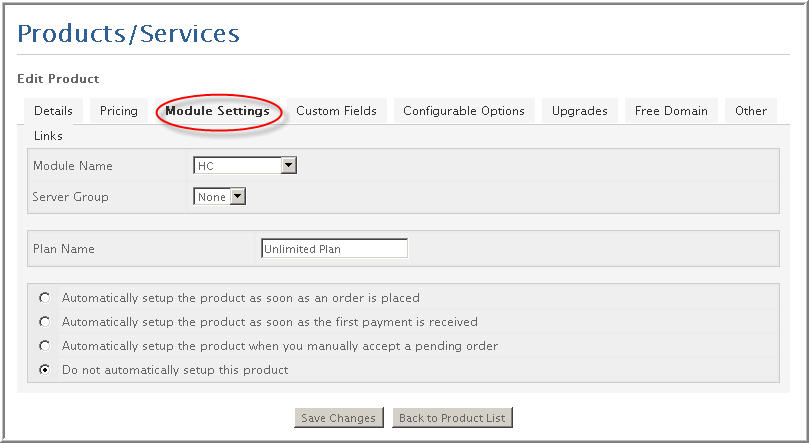
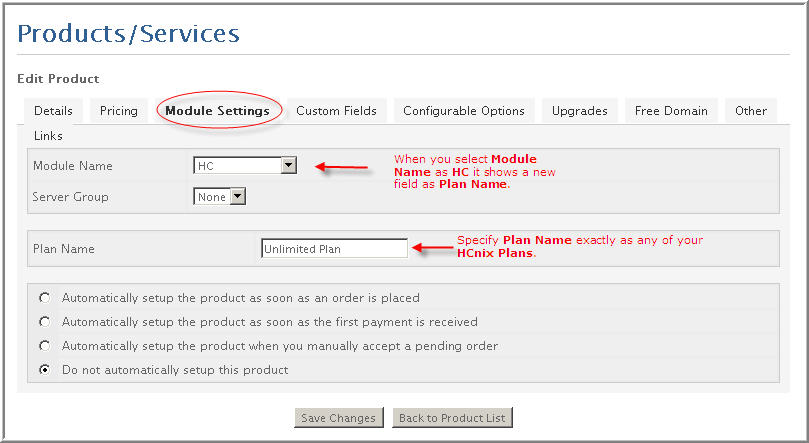
In “Module Settings”, select “Module Name” as HC from the list.
You can assign any of your WHMCS added servers to the specified product by selecting “Default Install Server”.
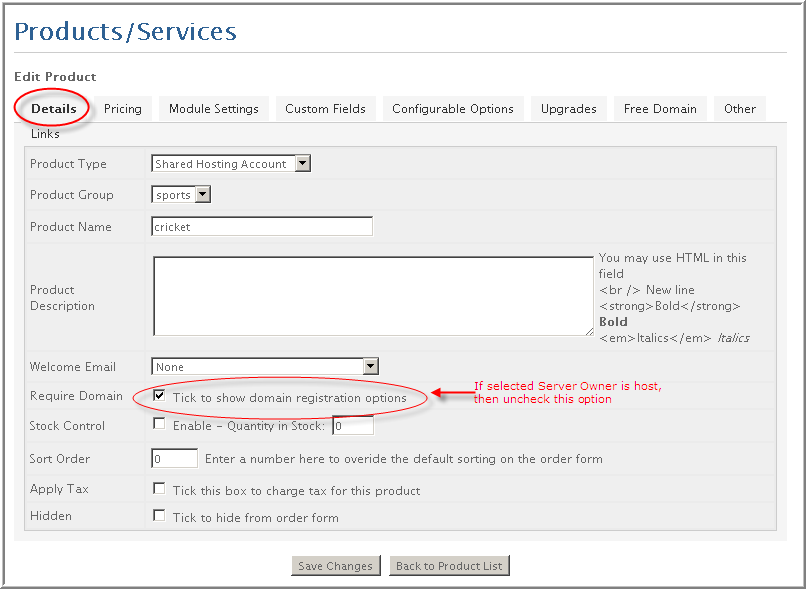
In “Details” tab, select “Tick to show domain registration options” as you can not add a domain directly under a host in HCnix.
|
|
If the selected Server Owner is “Host”, then uncheck the following option: “Require Domain: Tick to show domain registration options”. |
Specify “Plan Name” exactly same as any of your HC plans depending upon your selected “Default Install Server”.
|
|
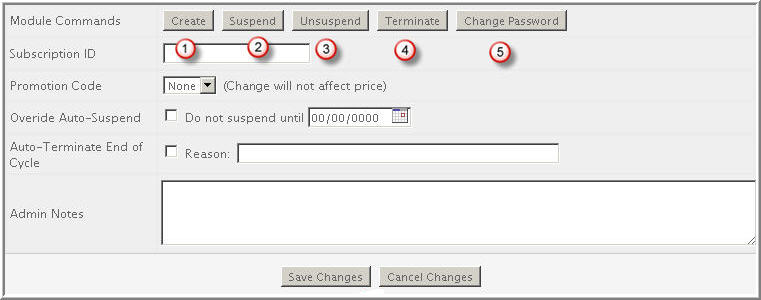
To manage all your clients for HC, go to “Clients >> List of All Products/Services”. Select your required Domain (as shown in the figure below). |
|
|
You can perform following actions as required, to handle the clients:
|
![]()
|
© Hosting Controller 1998-2011. All Rights Reserved |


